and painted wood bead “pearls.”
The theme of our 7th Craft Exchange was Breakfast at Tiffany’s and these ladies made some amazing stuff. One of my favorite gifts from the reveal is this glass etched jewelry box that has the iconic BOT quote on it, “Happy Girls Are the Prettiest.” If that wasn’t enough, inside was a sweet strand of faux wood pearls as well. Etching is the bane of my existence, so hats off to Dorie Herman for tackling this one like a pro.
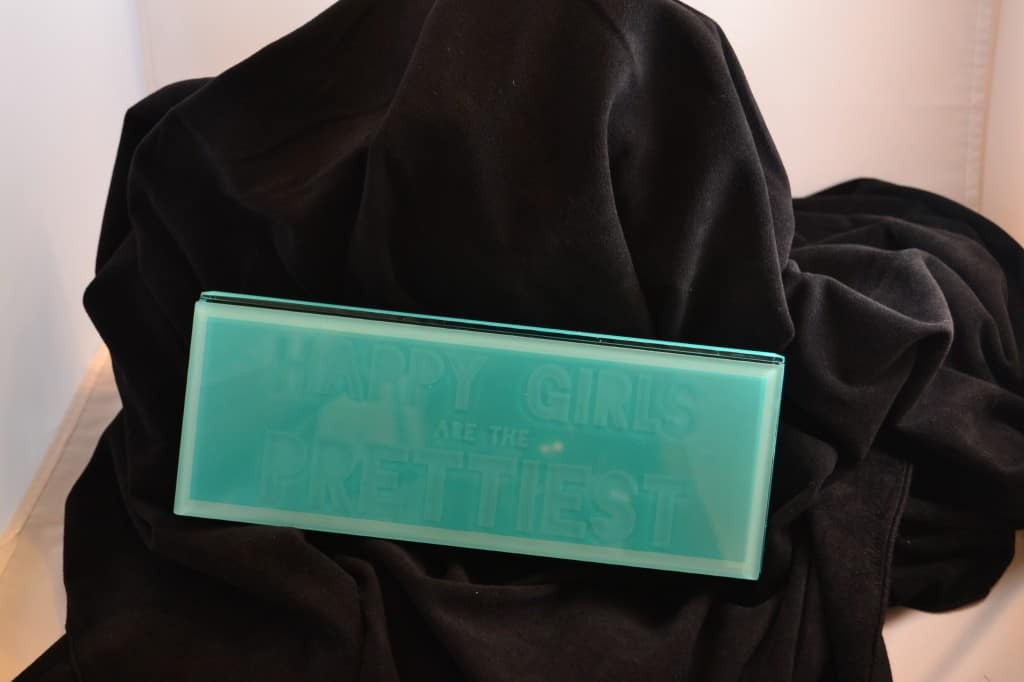
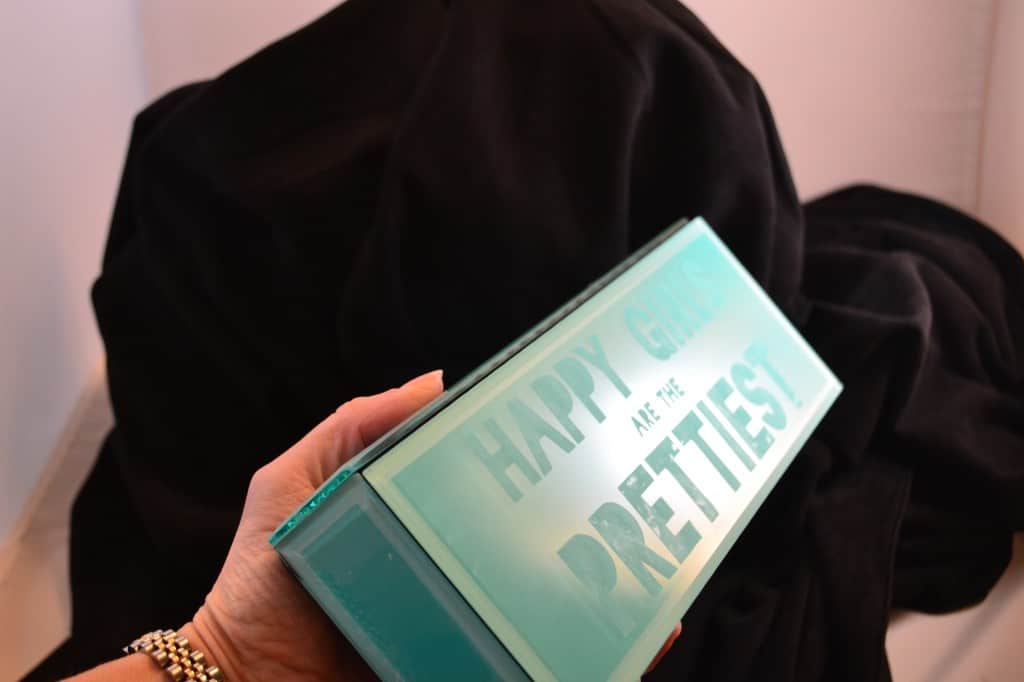
In her words, here’s her inspiration and how-to advice to recreate this fun glass project.
What was your inspiration for the beautiful etched glass jewelry boxes?
I’ve always wanted to etch glass and a jewelry box seemed like a perfect fit for a Breakfast at Tiffany’s theme. I picked the quote because it is one Audrey Hepburn said (not in the movie – just as an inspiration point) and then I had extra time and felt like it would be nice to include a necklace inspired by the famous ones from the movie.
What materials did you use?
Glass boxes, etching cream, stencils, hemp thread, pearlized paint and wood beads were the materials. Tools were: small paint brushes, foam pouncers, alcohol swabs, lots of paper towels, some disposable plates, scissors, and I found toothpicks were helpful in clearing out the holes in the beads to thread them.
Where did you get your materials?
Amazon for everything except the stencils, which I designed and had produced by an etsy vendor.
Cost of materials:
I spent a bit more this time.
- Stencils: $47 for 8 (made extra in case of problems)
- Paint: $7.50
- Beads: $15
- String: $8
- Paint Brushes: $9
- Alcohol swabs: $4.50
- Armour Etch Cream: $15
- Pouncers: $5
- Boxes: $80 ($10 each and I accidentally ordered too many)
About $190 total
How did you make it?
Wipe the glass with alcohol swabs a few times to clear of any oils and dirt. Apply stencil (I designed my own but you can buy any pre-fab glass stencil) and make sure it is firmly pressed everywhere. I was told to apply a “thin” layer of the etching cream but what worked best was what I’d term a normal amount – thin didn’t etch it as strongly as I wanted. The key is not to brush it a lot though or it creates a cloudy looking etching. So I just used the pouncers to make sure it got in every nook and cranny on one pass. Let it sit for 5 minutes. Then wash it off (since the boxes were lined I wiped liberally with lots of moist paper towels). Then take off the stencil and give it another few wipings to make sure all the etching cream is off. The etching won’t show until it dries.
As for the necklaces, the beads were so tiny I just put a blob of paint on a Styrofoam plate and then used a brush to swirl everything around over and over until covered. As they were left to dry I would use a plastic knife to make sure nothing stuck together nor stuck to the plate every few minutes. Once totally dry I gave it a second coat and did the whole process again. Then I just strung them in various configurations on necklaces.
How long did it take per item?
About 45 minutes? Not really sure since some parts I did one at a time and then the necklaces were more of a group process.
What was the hardest part about making this?
Peeling the stencils off their backings without ripping the letters.
What was the funnest part about making this?
I loved doing the etching – the attention to detail it took and yet simplicity of execution was right up my alley.
Do you like it?
YES!
If you made it again, what would you change?
I’d make the stencil a TAD smaller – it was a bit too large for the space so lining it up was hard.
Would you make it again and why?
Totally! It is easy, quick and fun and a lovely way to customize a store-bought item.
 What’s your happy place? Crafting? Cooking? Cocktails? Party planning? Yes please! I love it all, and I’ve tried a lot. Check out my how-to’s! What should we do next?

0 Comments