Today I’m featuring my good friend and fellow Craft Exchange member, Summer Ball. We actually met through the Craft Exchange which is a total bonus to participating in it. Last exchange, she made these beautiful alcohol ink wine glasses that are so gorgeous I’m afraid to drink out of them.
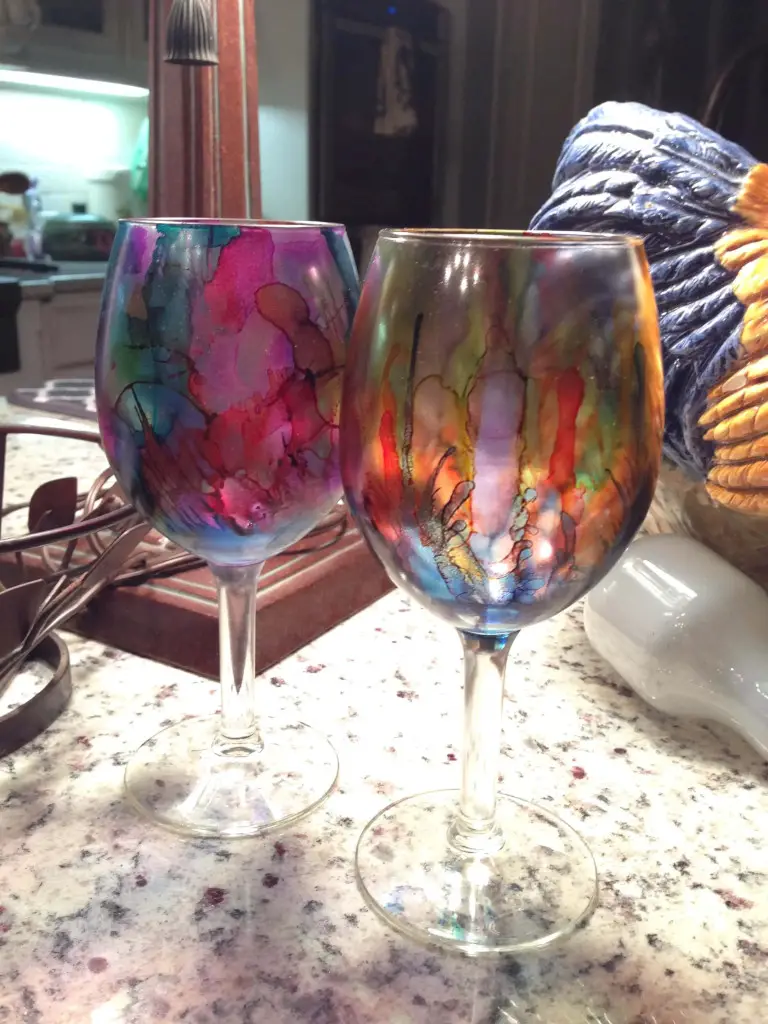
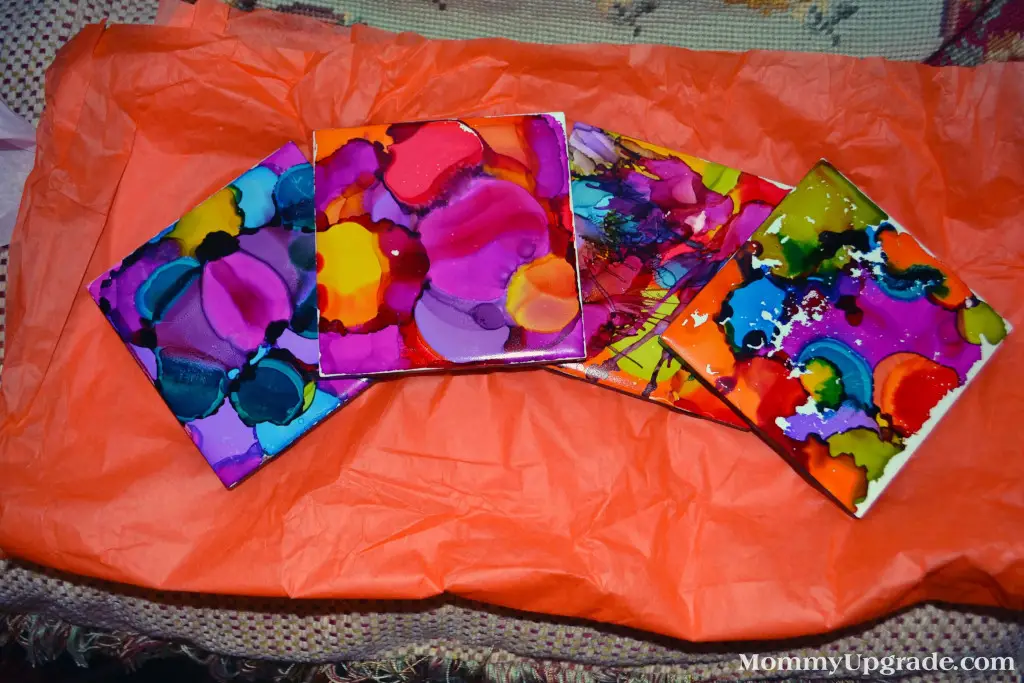
So I just keep them on display in the glass door side of my kitchen cabinets. They look stunning with the lighting from above. This exchange, she made these incredibly vibrant coasters and since there are 4 of them, I feel like it’s okay to use them with wild abandon. If I break one, I’ll still have 3 left, right?
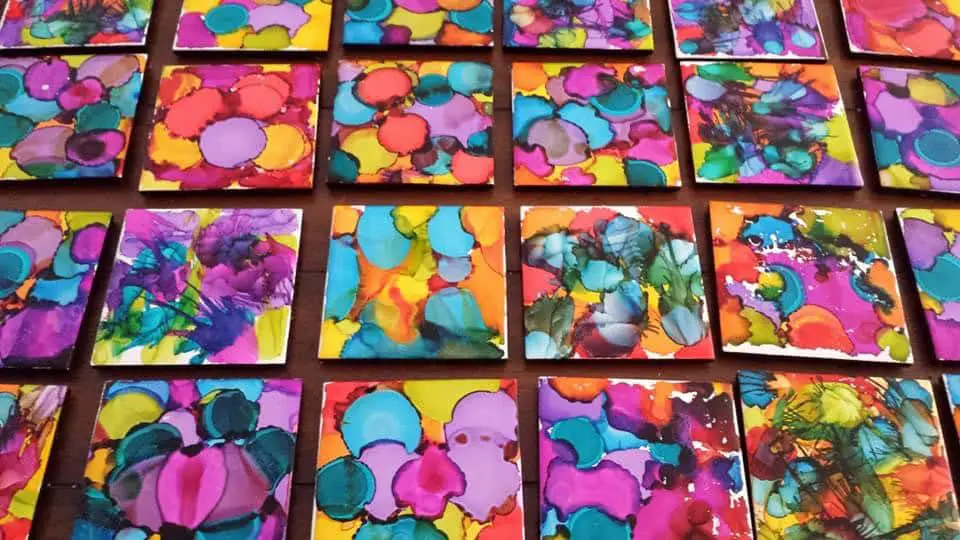
She says these are super simple to make (honestly, I’ve made alcohol ink on tiles before and they didn’t turn out this pretty) so read on to see her tips.
What did you make?
Alcohol Ink Coasters
Why did you choose it?
When I was researching my previous project I saw these and thought they were beautiful.
What materials did you use?
Ceramic tiles, alcohol ink, paint, felt, hot glue, spray enamel and canned air
Where did you get your materials?
Home Depot, Hobby Lobby, and Michaels
Cost of materials:
It was pretty cheap, I bought all of my materials before this sheet so I wasn’t paying attention…
- Tiles under $.25 each (don’t remember exactly, but they were super cheap)
- Felt-I bought a bag, but you can get the individual sheets for $1 each
- Hot glue & gun (already had)
- Alcohol inks-$10 for 3 colors
- Blending Solution- around $7 (but you can use rubbing alcohol instead)
- Paint-probably $2-3?
- Canned air-already had
- Spray enamel-around $7
How did you make it?
I painted the sides and some of the underneath with a paint that matched the felt I was using. Once dry, I rubbed the blending solution on two tiles at a time and them dropped alcohol ink on the tile and let it spread, I added more and more colors until I was happy with the design. On some of the tile, I used canned air to blow the ink around to make designs. After they were dry I sprayed (multiple times) with enamel sealer. I cut 4×4 squares of felt and hot glued them on to the bottom of each tile.
How long did it take per item?
I did them all within 1 day and I made 30.
If you made it again, what would you change?
I would not spray the sealer on my concrete… Hoping it fades before my husband notices. I would learn to accept the white. Sometimes there are spots on the tiles that just repeal the ink leaving white spots. I let this bother me instead of recognizing its beauty and the unique design it created. Next time I will wear gloves. For whatever reason the bottles of ink were messier this time and my hands were stained for days.
Would you make it again and why?
Yes, I think they turned out really pretty and was an easy and inexpensive project (after investing in the alcohol ink). It was mesmerizing watching the colors react with each other. I think I would also let my 5 year old help with the dropping of the ink. I think she would enjoy making them, too.
 What’s your happy place? Crafting? Cooking? Cocktails? Party planning? Yes please! I love it all, and I’ve tried a lot. Check out my how-to’s! What should we do next?


What is the best method and what did your friend use to seal the wine glasses for using?
I am not sure what she sealed them with, but I recently made watercolor mugs and those I sealed with Mod Podge Dishwasher Safe. There’s lots of Mod Podge, but this one cures for 28 days and then safe to go into the dishwasher. I hand wash anyway though. 🙂