

Our 8th round of craft exchange was themed Americana — which is defined as anything uniquely American. I was hoping that we would have a good mix of red, white, and blue projects, as well as things that were inspired by history, art, and culture that would be recognizable as from our beloved country. I’m particularly excited to show you what my fellow blogger Sevi (of Vodka Makes You Happy) created for our crafty group.
These birch wood woven wall hangings are the epitome of hip and thankfully she made one for the cupcake to put in her room or I’d be stealing one from someone else when they weren’t looking. 🙂 Special thanks to my custom lettering friend AlliK Design for the great photo that I totally stole. (GUILTY so check out her great lettering and her Etsy store to make up for my bad deed.) In Sevi’s words, here’s her inspiration, how-to’s and tips for when you’re making these yourself.
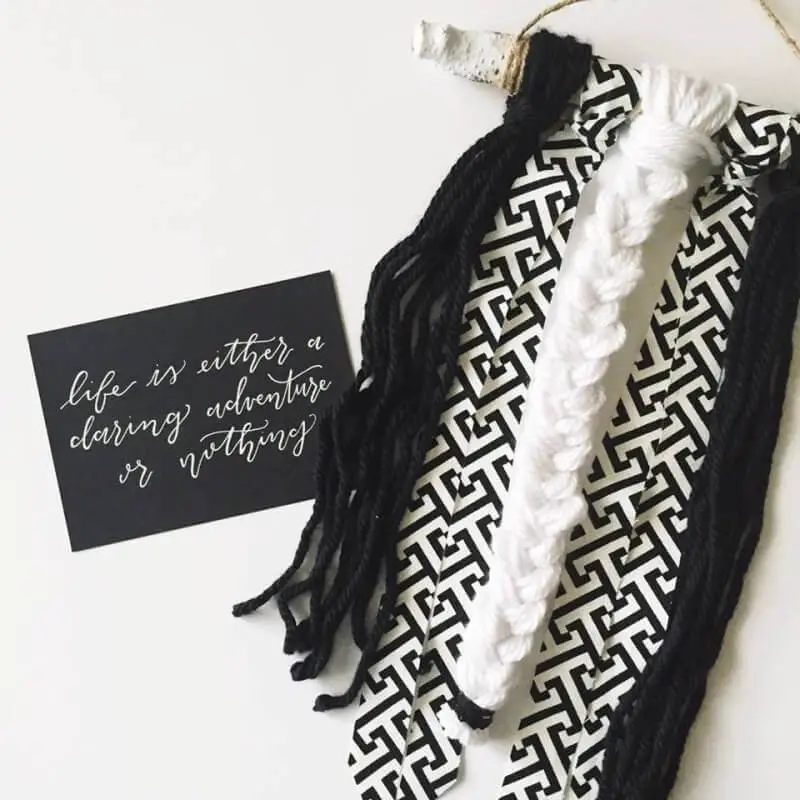
Photo Credit: AlliK Design
Why did you choose it?
This has been a project on my radar for a while now that I’ve stumbled upon the woven wall hangings. They are so expensive, that I figured I could easily make it work. To tie into the Americana theme, while researching I came across quite a bit of Native American weaving history. This is a much recognized American Indian art form and seemed fitting to just a snippet of America’s culture history. I decided to interpret this in a manner that would work for my project.
What materials did you use?
Birch Wood Branches, Yarn, Hot Glue, Twine, Fabric Remnants & Ribbon
Where did you get your materials?
Etsy (Birch Wood Bundle), Joann’s (Yarn and Ribbon), Fabric Remnants, Hot Glue, and Twine came from personal craft supplies already owned.
Cost of materials:
$55 (Remember, this was for SEVERAL.)
How did you make it, step by step?
- Determine pattern of yarn and fabric remnants for birch wood branch.
- Unravel yarn to about 2 feet to the designated bundle that you desire for your wall hanging.
- Continue step 2 for different yarn bundle until your pattern is complete.
- Add any additional fabric remnants and/or ribbon to your pattern before completing your wall hanging.
- Take each bundle and loop through and over the birch wood brand – space out as you see fit.
- Cut excess yarn to desired pattern and add any additional patterns (i.e. braids, etc.)
- Measure out twine for hanging purposes and tie a circle of twine around each end of the branch.
- Wrap twine around each end and secure with hot glue.
- Allow to dry for about 5-10 minutes.
- Hang and ENJOY~
How long did it take per item?
Each hanging took about 25-30 minutes.
What was the hardest part about making this?
Definitely the weaving and unraveling the yarn! My first intention was to create a DIY loom and weave intricate patterns. After failing miserably at the loom, I finally decided to head back to Etsy and Pinterest for alternatives. That’s where the yarn unraveling came in! It’s extremely tedious and you have to make sure that each you are paying close attention to how much yarn is being used in relation to the branch size.
What was the funnest part about making this?
Seeing the finish project was definitely the best part! I mean people are selling these things on Etsy and its high way robbery – so it was nice that I could accomplish something that I typically would just suck it up and purchase.
Do you like it?
I love them all – this may be my favorite project that I’ve made so far. It was definitely a step above mason jar crafting and I am glad that I challenged myself.
If you made it again, what would you change?
I would probably be a bit more patient and actually attempt making a better loom for weaving. I definitely think that’s something I’m going to take into consideration for a future DIY project for my blog or just personal hobby.
Would you make it again and why?
Definitely! Since making it, I posted a sneak peek on my Instagram and received a lot of feedback in regards to a DIY for my blog for it. I think it would make a great gift for housewarming, baby showers, etc.
Thanks Sevi! What a fun project to share! You can follow Sevi on Instagram @Sevibabyyy or Facebook.
More Craft Posts
Easy to Make Gift Card Idea
Here’s the situation: the teenager had a gift exchange at high school and she wanted to keep it simple with a Starby’s gift card and some Sour Patch Kids. (Yawn) But unfortunately for her, she’s my kid, and we can’t roll with straight up boring gifts. We did get the...
Craft Room Ideas and Advice
Depending on how dedicated a crafter you are, these craft room ideas may help you plan and organize your perfect workspace.
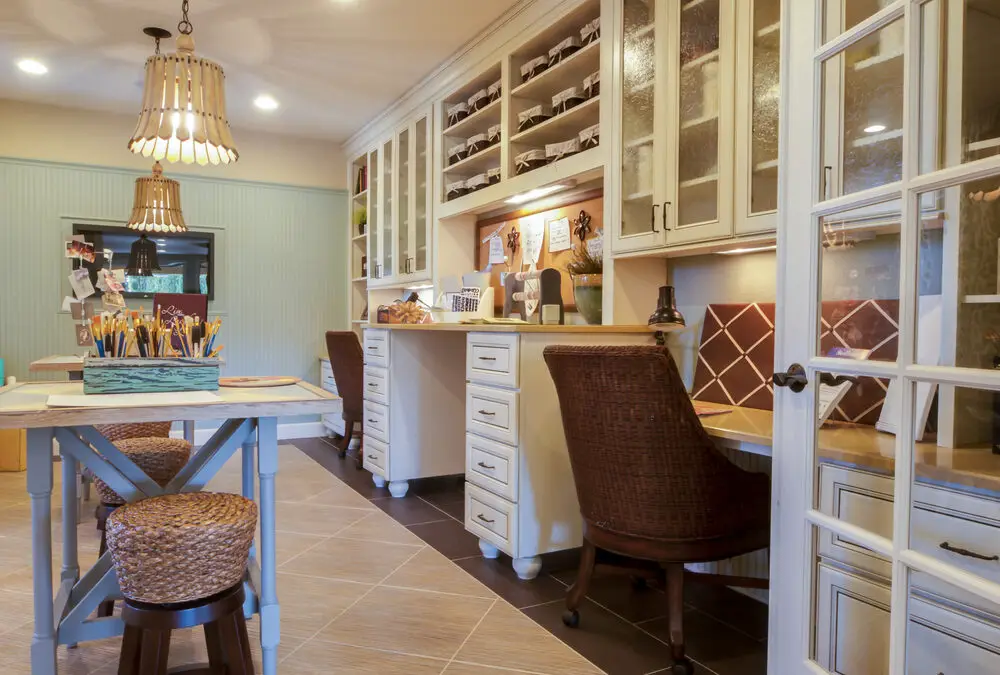
Smart and Crafty Craft Storage Ideas
This post is co-written by my talented, artistic friend and architect, Laura Davis, Vice President and Principal of hpd architecture + interiors. As dedicated crafters, we know how important it is to have a designated space for all my creative supplies. Let's face...
 What’s your happy place? Crafting? Cooking? Cocktails? Party planning? Yes please! I love it all, and I’ve tried a lot. Check out my how-to’s! What should we do next?


0 Comments