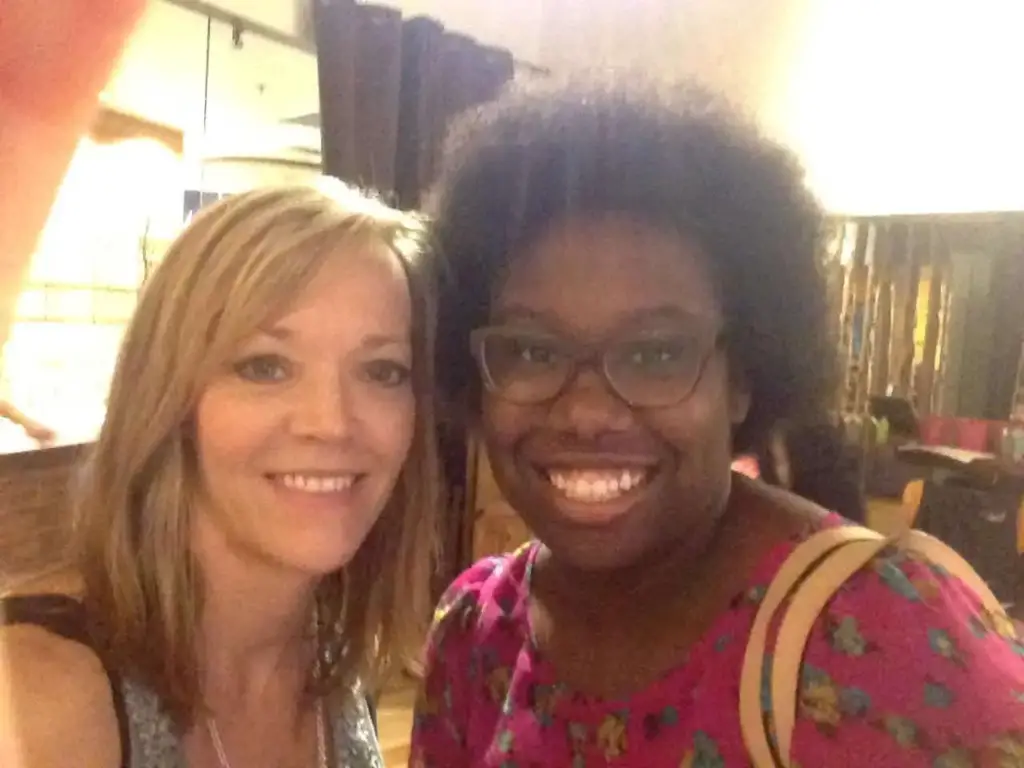
Today I am featuring my friend Sevi Ware and her pretty keepsake box that she made for the Craft Exchange. Sevi is a kindred spirit that I met through of love of Vera Bradley, the Pink House (aka The Vintage House) and our shared adoption of our dear Miss Nan. Sevi is also the laughter behind the heartfelt blog, Vodka Makes You Happy. This fun loving girl, is also the embodiment of grace and strength under pressure. In the four months between our exchanges Sevi started a new job, received her Master’s Degree, suffered the loss of her dear Daddy, and bought a house and moved — in that order. And she still managed to keep up with and participate in the Craft Exchange. Everyone would have given her an out, however she is what she proudly calls herself as “a lifer” for the Craft Exchange, and not only do I believe her, I adore her for it. Thank you Sevi Ware!
Here’s my lovely box. It’s already filled with goodies.
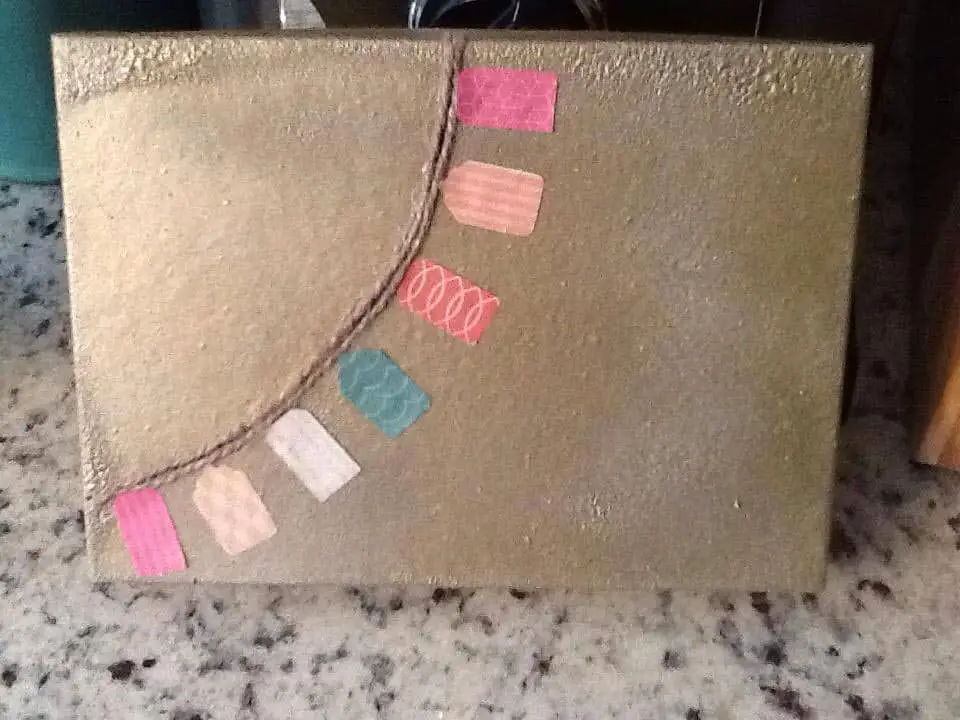
Here’s what Sevi has to say about her gorgeous keepsake boxes.
What did you make?
Keepsake Box
Why did you choose it?
As I was packing my house, I kept finding small knick-knacks that I kept placing aside. The idea dawned on me when I started to place all of these knick-knacks in a small box.
What materials did you use?
- Recycled Birchboxes
- Permanent Marker
- Mini Paper Tags
- Tacky Glue
- Metallic Gold Spraypaint
- Twine
- Mod Podge Pearlized Spray
Where did you get your materials?
Birchboxes are recycled from all the months of free samples and everything else came from Hobby Lobby.
How did you make it?
The most labor-intensive part was spray painting each of the boxes and waiting for them all to dry. I’m not the best with spray paint (David makes fun of me for that), but I managed to get it done.
After spray painting the boxes, I used the curve of a paper-plate to draw where I wanted the line for the mini paper tags bunting flags to go. I followed that with tacky glue over the line and pieces of twine on top of the glue. After selecting the tags, I glued them down and then sprayed over them with the Mod Podge Pearlized spray for some extra sparkle.
How long did it take per item?
Each box, after spray painting took about 5-10 minutes.
If you made it again, what would you change?
If I did this again, I definitely wouldn’t use spray paint. I have lots of paper, so I could easily have measured and cut paper scraps to add a little more individuality to the boxes. Also, I would make my own paper tags to hang from the twine. You can only do so much with time and packing up your craft room to move!
Would you make it again and why?
I would definitely make it again. I have already started using my for a ton of things I want to keep close. It’s big enough to hold the important things, but small enough that it doesn’t get in the way.

 What’s your happy place? Crafting? Cooking? Cocktails? Party planning? Yes please! I love it all, and I’ve tried a lot. Check out my how-to’s! What should we do next?


0 Comments