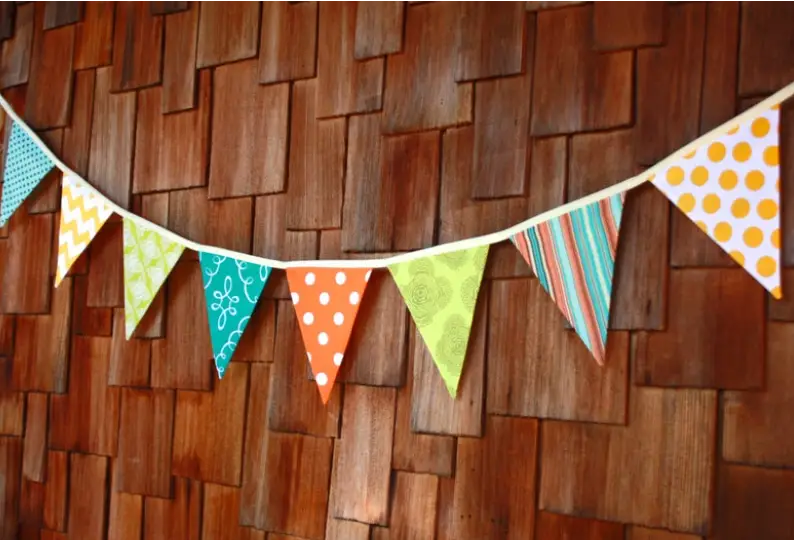
Pennant banners are so cute, easy to make, and can be adapted to suit any birthday party or celebration.
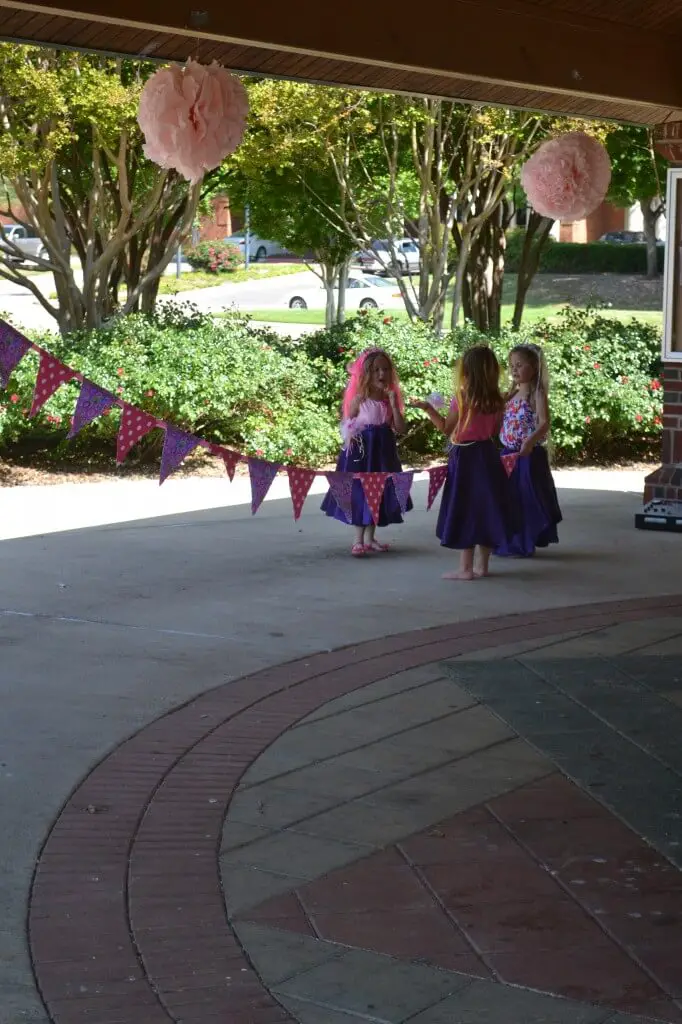
Making the one in the picture was much easier than I anticipated, granted this it wouldn’t win any sewing awards but functionally, it’s a fast project to spruce up any party. In fact, I sewed it all together the morning of the party in about 30 minutes. If sewing isn’t your thing, skip to the end where you can find some great resources to buy pennant banners and bunting for any occasion.
How to Make a Pennant Banner
You’re going to need 1 yard of fabric for a 10 foot long banner that will have 13 pennants on it. When you get your fabric, no matter how tempted you are, do NOT unfold it from the manufacturer’s fold that it has on the bolt. (You know how the fabric is doubled over on the bolt and there’s a crease down the middle? Leave it that way.) Do not wash it, you want the sizing in it to keep it crisp. But do iron it if it needs it.
You’ll also need some extra wide double fold bias tape. You’ll need two packages of it, or you can cut it apart and use just one, depending on how much energy you want to exert. I cut mine because I’m “frugal.” Or I couldn’t find the extra package and had to make due with what I had since it was the morning of the party.
Now take a piece of 8.5 x 11 piece of paper and pretend like you’re going to fold it in half lengthwise. Don’t actually fold it, but pinch the bottom where the middle is.
Take a ruler and a pen and draw a line from the upper right corner to the pinch mark on the bottom. Do the same on the upper left side.
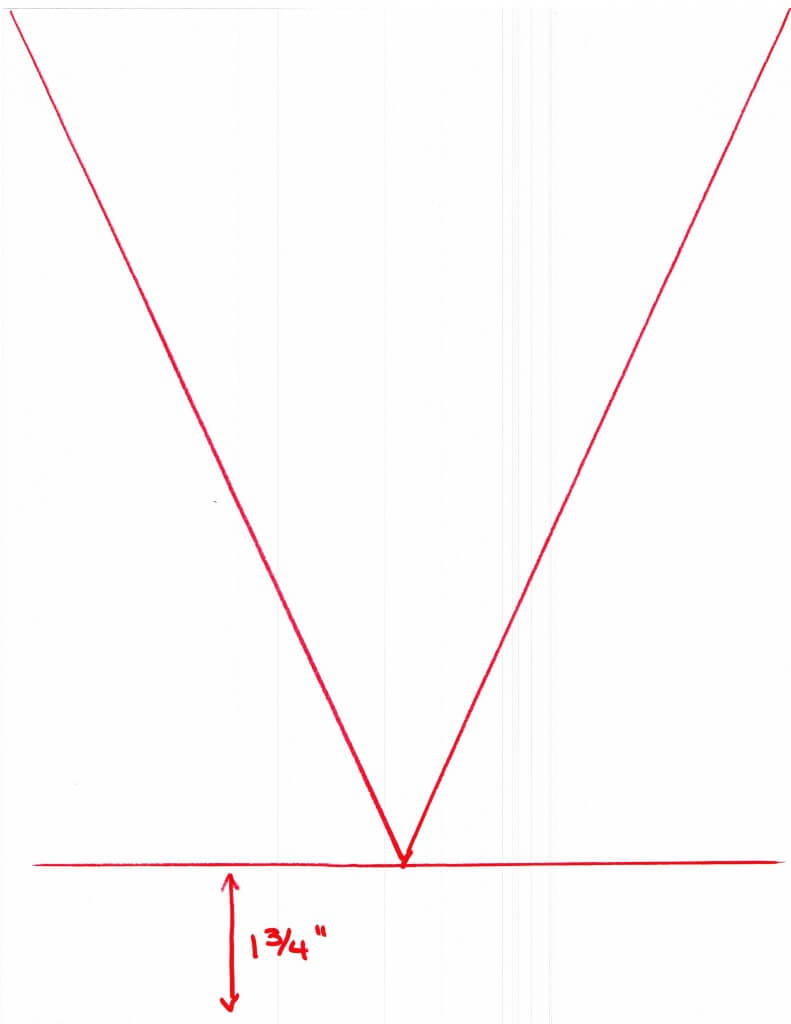
Cut out your triangle – this is your pattern piece.
Spread out your fabric on your table and pin your pattern piece to it, lining it up the fat part of the triangle along the top and the edge of your fabric on its folded side.
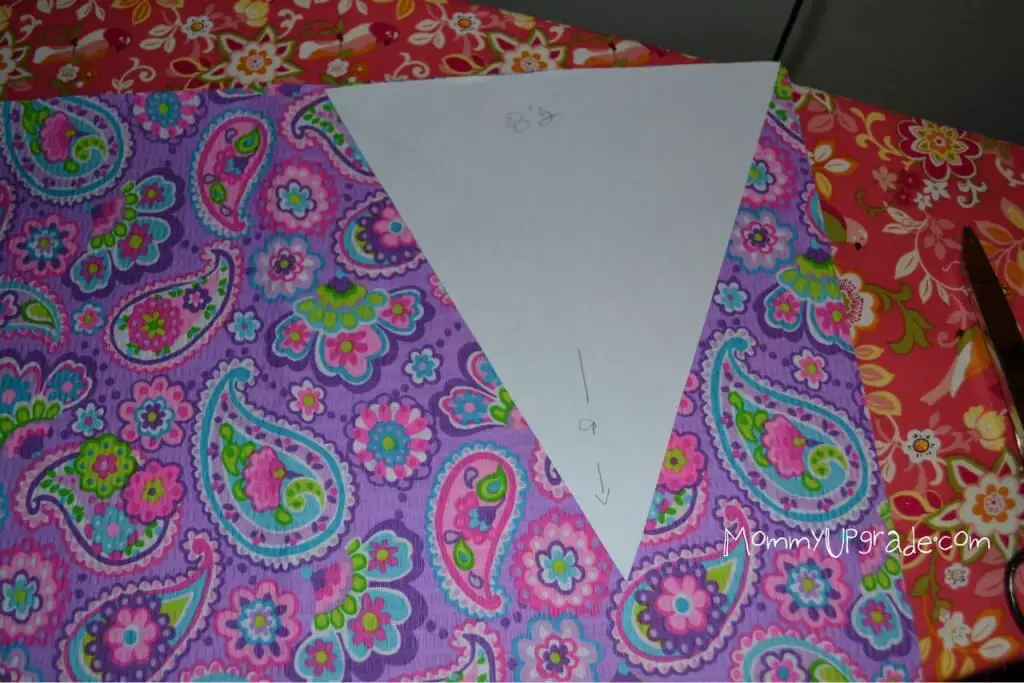
You’re going to end up cutting like this:
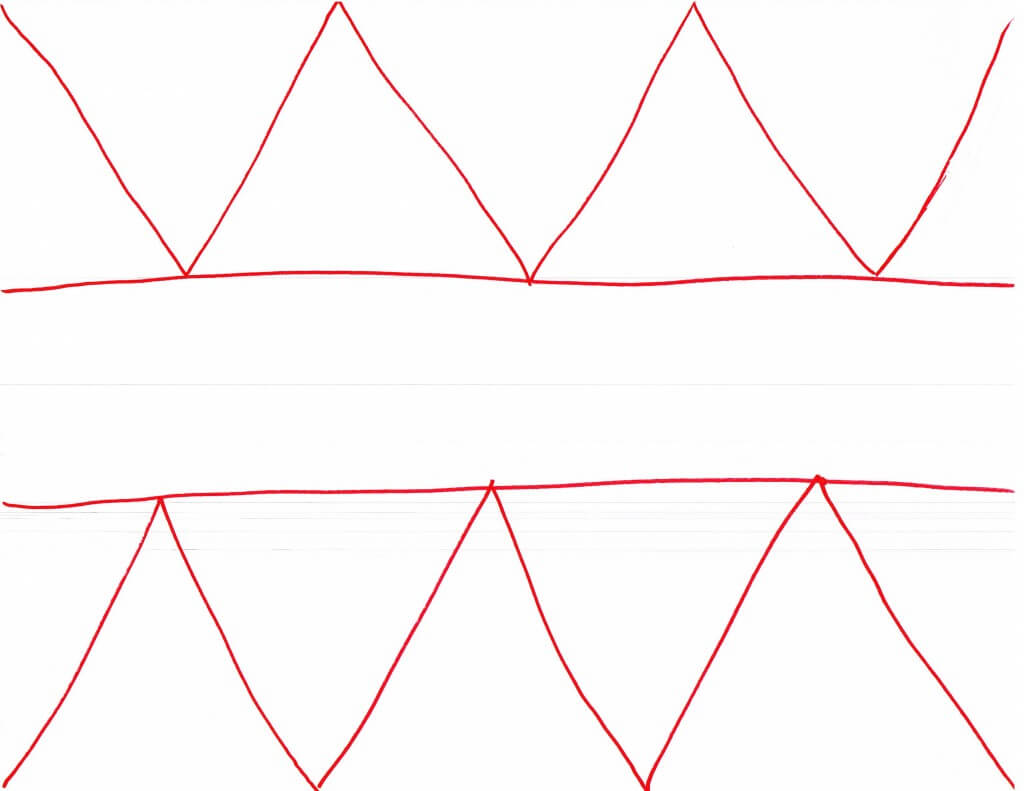
Cut out your triangle by cutting only the bottom two sides. Do NOT cut the top folded side. Pin these together.
Flip over your triangle and line it up along where you just cut, and you have one side already done. Cut the other two sides.
Keep doing this all along your fabric, keeping your cut pieces together. Then do the same thing along the bottom of it. Depending on the width of your fabric, you might even get three rows in.
The pennants should be lined up perfectly with right sides out. Remember to pin them so no one walks by and accidentally knocks them all to the ground and you have to rematch them.
Once you have all your pennants cut out, dust off your sewing machine.
Sandwich the bias tape along the fat part of the triangle on the inside. Leave a few extra inches at the end – remember you have to tie it to something.
Sew all around three edges of the triangle, making sure you catch the bias tape that’s lined up along the inside fold.
Measure a couple of inches and sew the next one there. Keep doing it until you run out of pennants. Make sure to leave the same amount of extra inches of bias tape at the end to tie like you did on the start of the banner. They don’t have to be even, but you might be more likely to hang it crooked if they aren’t.
You could use iron-on letters for the pennants if wanted to customize the banner too. I left mine blank so we could use it for other celebrations.
(I used this same technique to whip out a 4th of July American flag pennant banner in record time.)
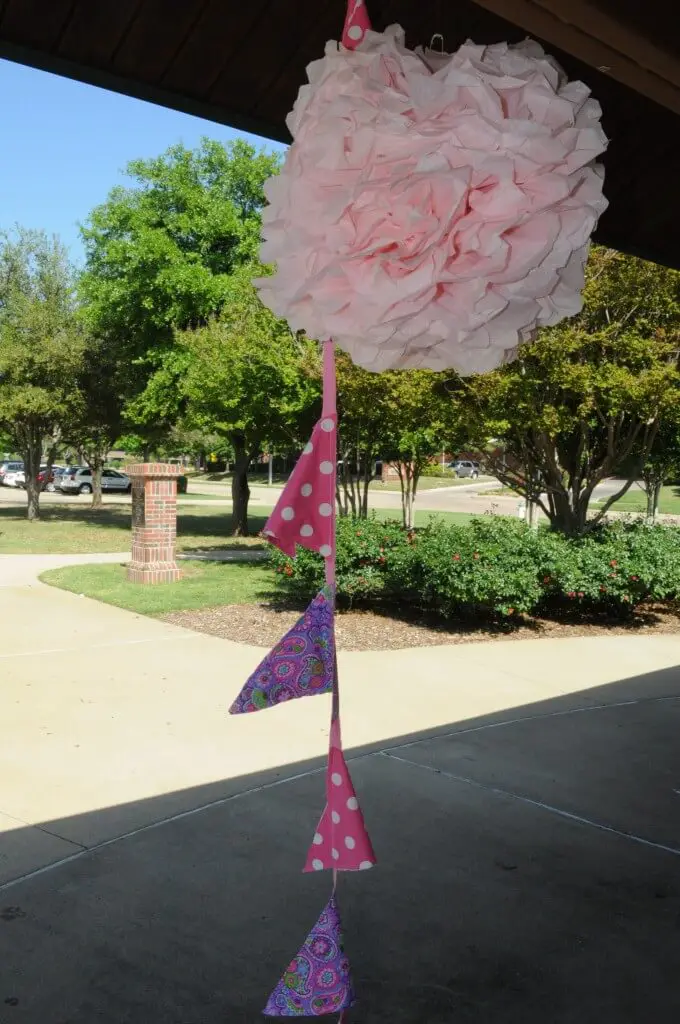
It was windy, so our eventually fell down on one side because we had to tape it and didn’t have the right kind of tape, blah blah blah… Here’s how to make the pom-pom you see too.
How to Make a Pennant Banner – Calculating Length
Here’s how I calculated the amount of fabric I needed. If you want to get all fancy and use a couple of colors of fabric, you’ll need to divide by 2 or 3 or however many you’re going to use. I used two coordinating fabrics and overbought because I loved them so much.
Measure the amount of space you want to hang your pennant banner in inches, then divide by 8.5”.
For example, a 10-foot space = 120 inches (because there are 12 inches to a foot.
Divide 120 by 8.5 = 14.11
So your banner will have 13 pennants on it because two of your pennants will be halfsies when you cut.
Divide 120 number by 4 and add 5 inches and that’s how much fabric you’ll need.
120/4 = 30 + 5 = 35 inches. (Round up)
That’s darn near a yard of fabric (36 inches), so I’d get that and give yourself a little wiggle room.
No, you don’t need the extra 5 inches but I like to have a little extra just in case I cut wobbly or something.
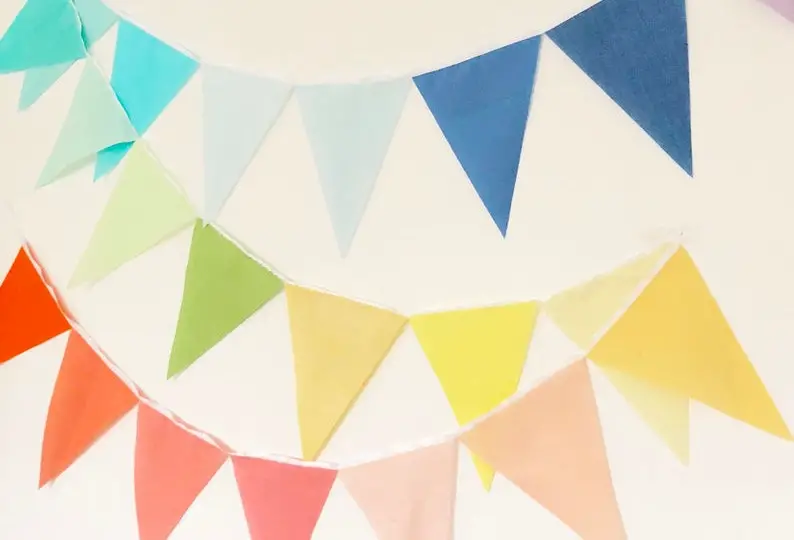
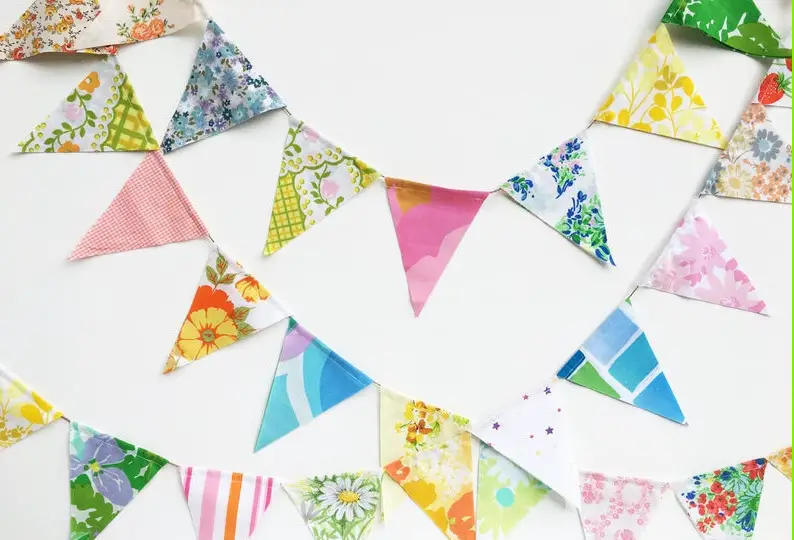
Seem like too much work? You can always buy one on Etsy!
Here are a few pennant banner makers that I found on Etsy for when I may not have the time to do my own.
 What’s your happy place? Crafting? Cooking? Cocktails? Party planning? Yes please! I love it all, and I’ve tried a lot. Check out my how-to’s! What should we do next?


My “signature banner” is pretty popular and easy to make, but I love this too! I might need to shake up my standard. I use a roll paper, I think they are typically used for easels, where it holds the roll at the top. I use those that, with plain ol acrylic paint that I draw out the letters with a foam brush. Hand written. Looks colorful (alternating color/letters). Fun, also love the comic book background. also colorful!
I forgot to post that I have also used banners for good job on a big test! Always love pointing out positive accomplishments!
You can also use the same technique to make a banner out of paper – For a certain 4 year old’s super hero birthday party, I went to Half Price Books, bought some Comic Books for 25 cents, cut out triangles, added some letters from a free website, and had an awesome HAppy Birthday themed banner!
A Banner worthy day is a day when you pick your child up from school and he runs up to you, gives a big hug and says” I wanted you today!”.