I am not like those mom’s who have their Halloween decorations out on October 1. I would love to be, but the last couple of years we’ve taken a more dynamic approach to decorating. Dynamic meaning, it rolls out over the course of a few weeks and we’re lucky if we have it done by Halloween. I am growing especially fond of the approach where you buy new stuff and display it rather than getting in the attic and dragging down your box after box of decorations you already have.
Or… you put off dragging those boxes down and unpacking them because you are MAKEing new decorations.
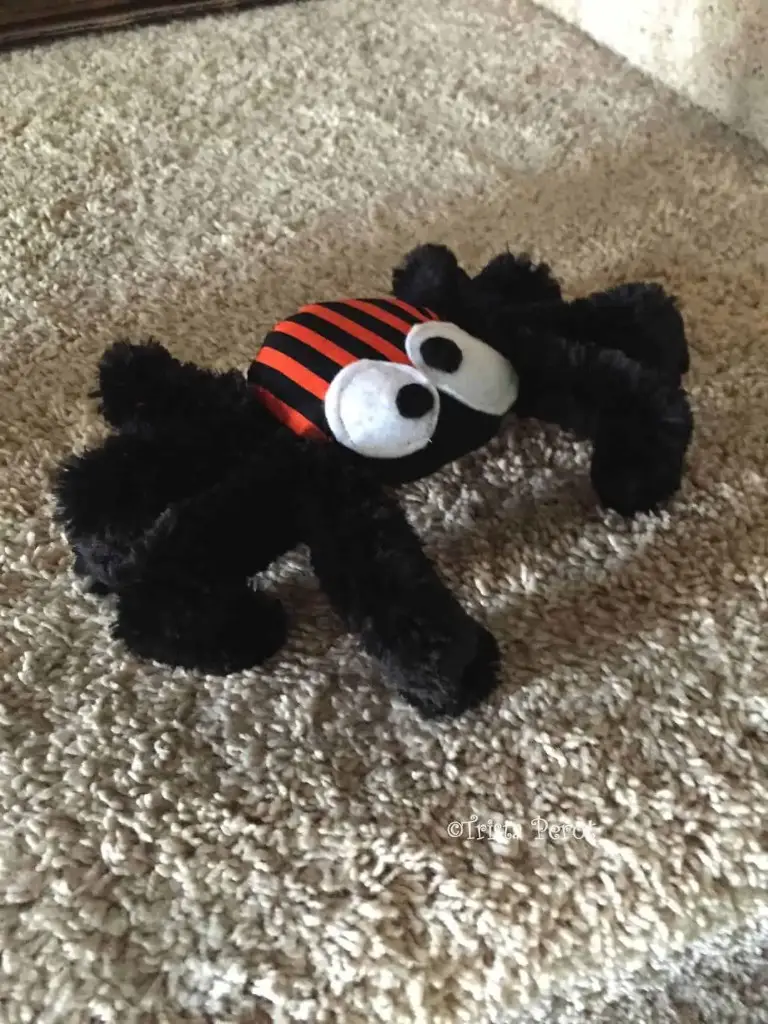
Like these lovely little spiders I made.
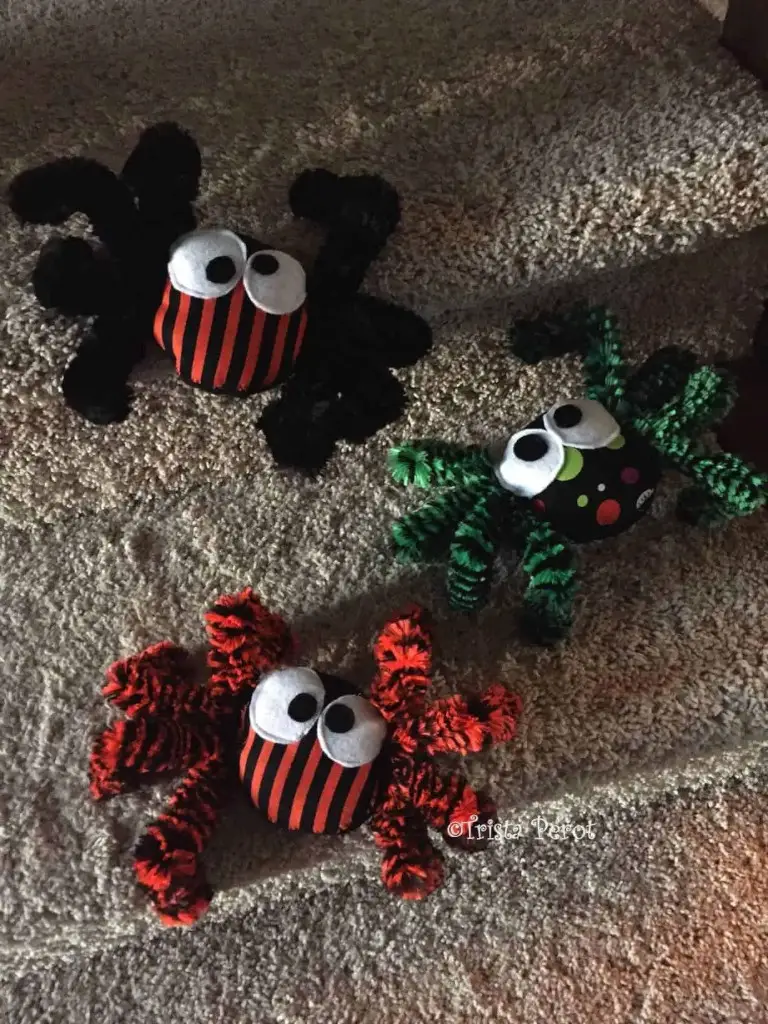
Aren’t they adorable?
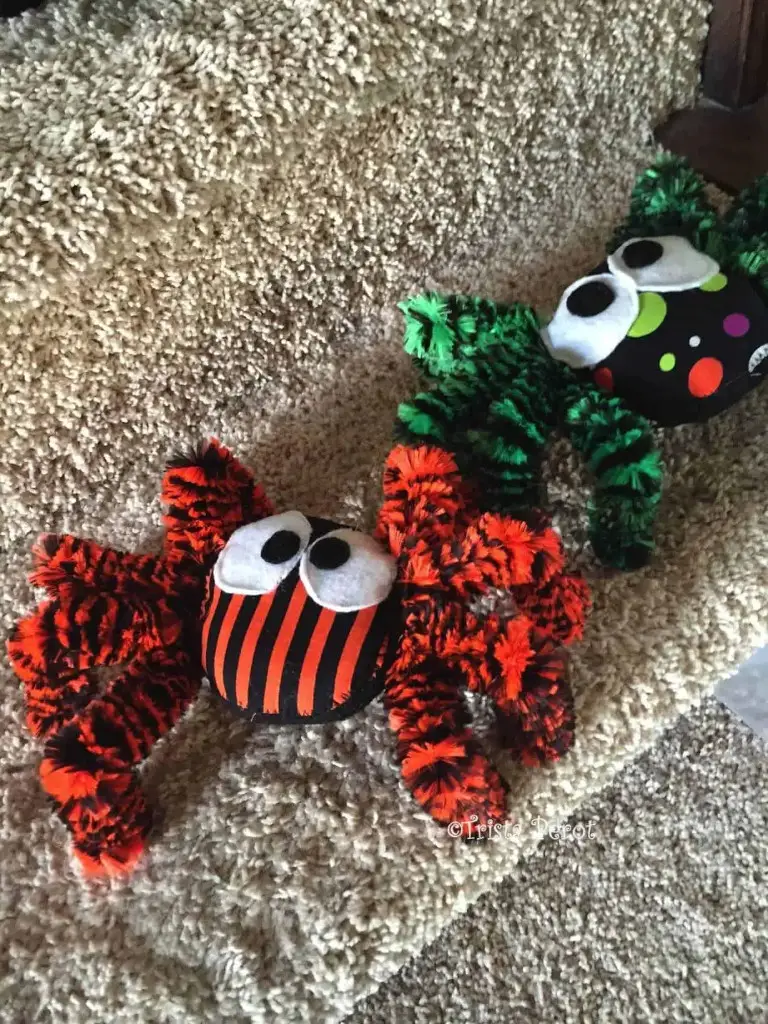
I think yes.
I may add fangs and a ribbon to dangle them from the iron railing on our stairs. But for now, we’re just letting them crawl around.
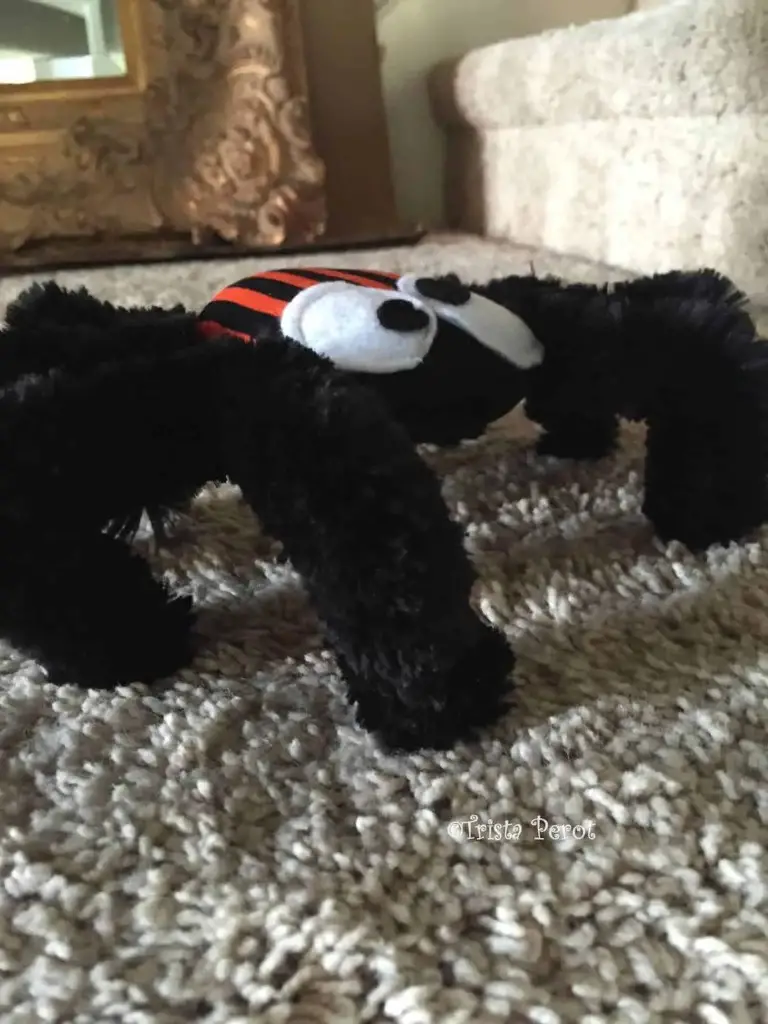
These were super easy to make. Here’s the “pattern” you can download for the pieces you’ll need.
Halloween Spider Pattern
Yes, I forgot to put my website on it. You’ll just have to remember how awesome this site is. Or write it on there. Whatever.
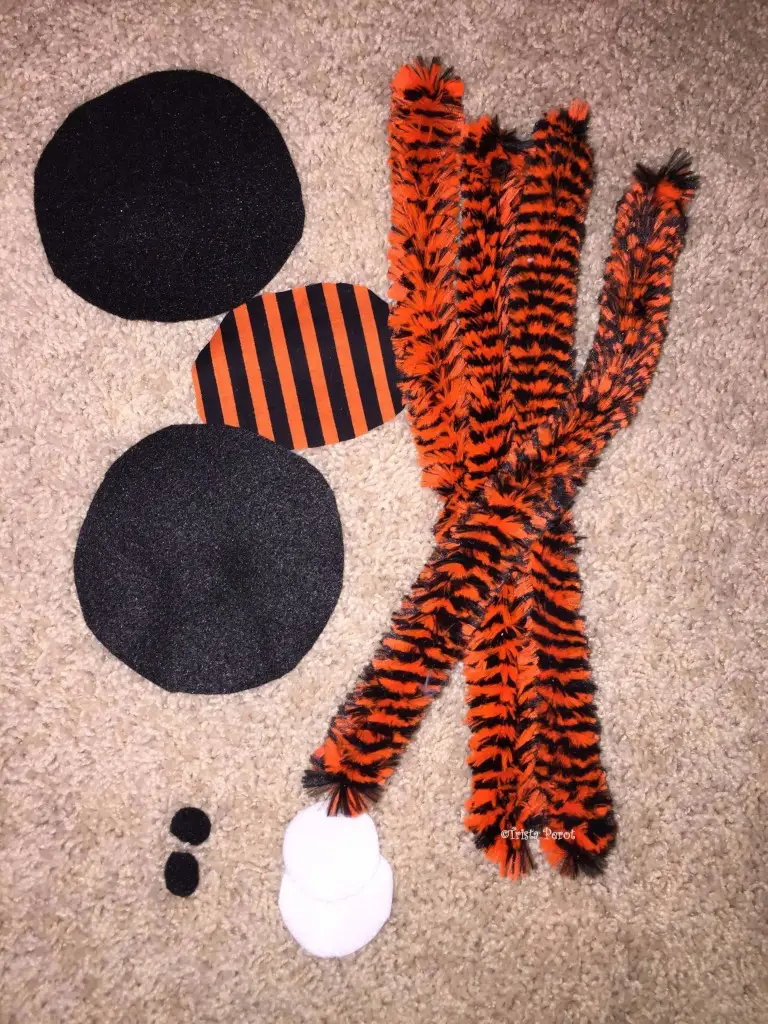
Here’s what you do:
- Cut two “A” from black felt
- Cut one “B” from a Halloween patterned fabric. I got mine at JoAnn
- Cut two “C” from white felt
- Cut two “D” from black felt
You’ll also need to have batting or whatever you want to use as stuffing. I’ve even used plastic grocery bags before. And you’ll need those big poofy pipe cleaners for the legs, four of them. And a needle and black thread.
I used my sewing machine for the first part.
- Sew one “D” to the top of one “C”. These are the eyes.
- Sew the B to the bottom half of one “A”
- Sew the eyes onto the same “A” that you sewed the patterned fabric to.
- Place the second “A” on top of the “A” that has the eyes and pattern fabric on it.
- Sew the top and bottom of the spider body, leaving each side open about an inch and a half.
- Turn the spider body inside out.
- Bend the pipe cleaners in half and put the bended part inside the gap on one side.
- Tuck the edges of the felt under and hand sew the side shut with the legs sticking out.
- Stuff the body with your batting.
- Tuck the edges of the felt under on the other side, insert your two bent pipe cleaners and hand sew the other side shut.
That’s it! Pretty stinkin’ cute!


 What’s your happy place? Crafting? Cooking? Cocktails? Party planning? Yes please! I love it all, and I’ve tried a lot. Check out my how-to’s! What should we do next?


0 Comments