

I bought these funky little doo-dads when we moved into our first house way back in 2000.

I set them out on the display shelf above the cabinets in our bathroom and forgot about them. No one ever saw them but us and I probably only dusted them once. I wasn’t in love with them but they were okay to take up space.
For some reason when we moved, I thought I still needed them. So two years ago they got packed up and relocated to our new house.
The garage of our new house, to be exact, where they have narrowly escaped the donation pile on numerous occasions. Although one has taken a tumble – as you can see from the rather unfortunate crack.
One day as I was backing out of the garage, I saw them on top of the storage shelf and inspiration struck. Their pumpkin like middles could use a little MacKenzie-Childs treatment. I adore and have a tiny collection of MacKenzie-Childs, (not to mention the success of my recent checkerboard stag project), so any chance I have to create something that looks like it that I don’t have to buy it, makes my heart race a little.
My inspiration came from these pepper mills and this teapot (which I actually do have).

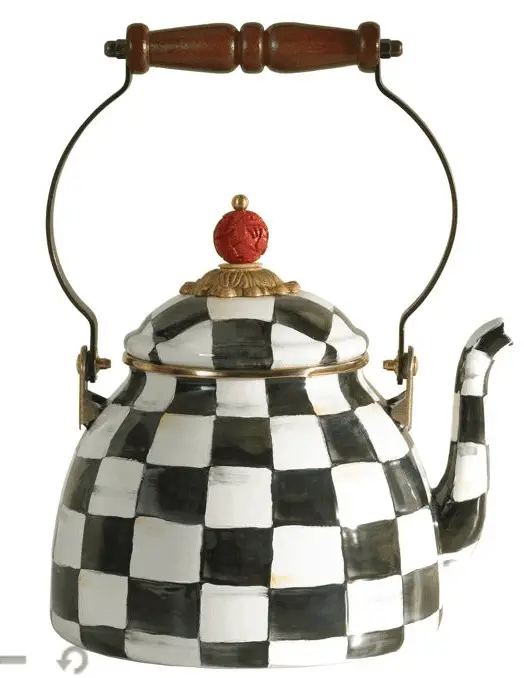
Photo credit: Mackenziechilds.com
So here’s how it went. First a spray coat of primer to give it a good white base. Then draw on some lines for a guide.

Be sure to count to make sure you have an odd number of black squares going around the edge. You don’t want to end up with black next to black! I had to redo one of mine – thankfully I found it before I started to paint.
Then alternate your black and white checkerboard. I did the same with the long pumpkin-like sides. I chose to accent with red and a metallic gold paint.


You can touch up the lines as you go. I have the worst shaky hand so it’s a miracle I could get these done this well.
Then Big Daddy said it needed some color stripes in it too because the real stuff has streaks of blue and green and yellow. So he “helped” me by doing this.

Which I then took white paint and colored over to tone it down. I thought he was actually onto something though and I grabbed some sharpies and added color along the edges.
After all the colors were done, I sprayed with clear lacquer and viola! These soon to be discarded doo-dads got a designer redo. Now I like them even better than before. Way to go team Perot!

 What’s your happy place? Crafting? Cooking? Cocktails? Party planning? Yes please! I love it all, and I’ve tried a lot. Check out my how-to’s! What should we do next?


0 Comments