Because everyone needs more agate in their lives…
Confession: I saw Sabrina pinning vendors on Etsy and secretly not so secretly let her know I hoped it was for our 7th Craft Exchange. As IF the bag wasn’t the most awesome surprise ever (not throwing this one away),
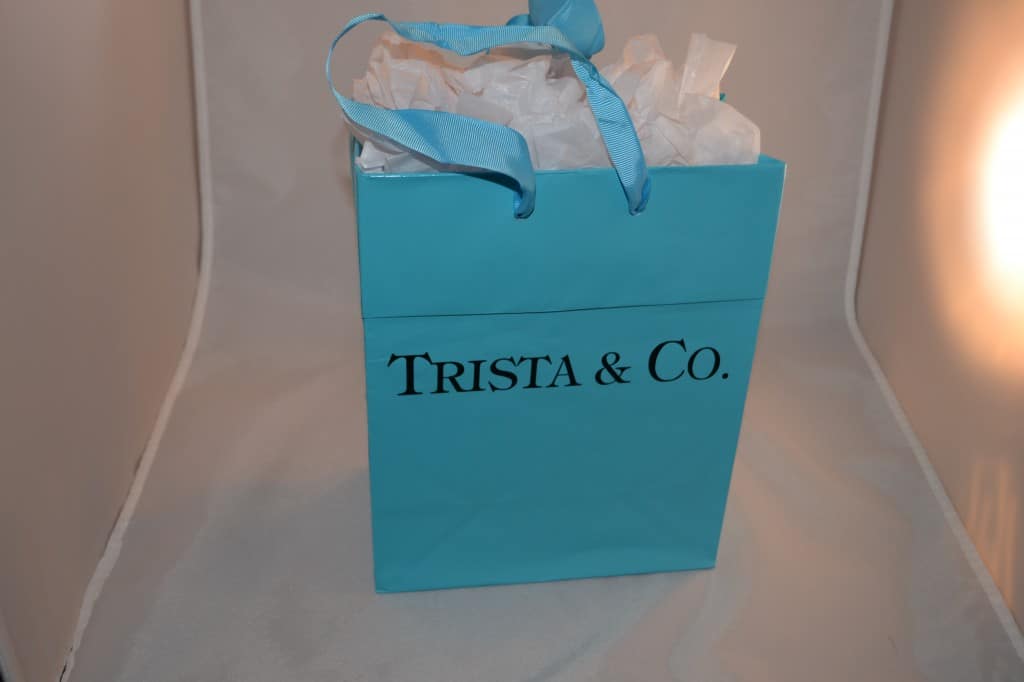
the room was filled with audible gasps when these beauties were opened.
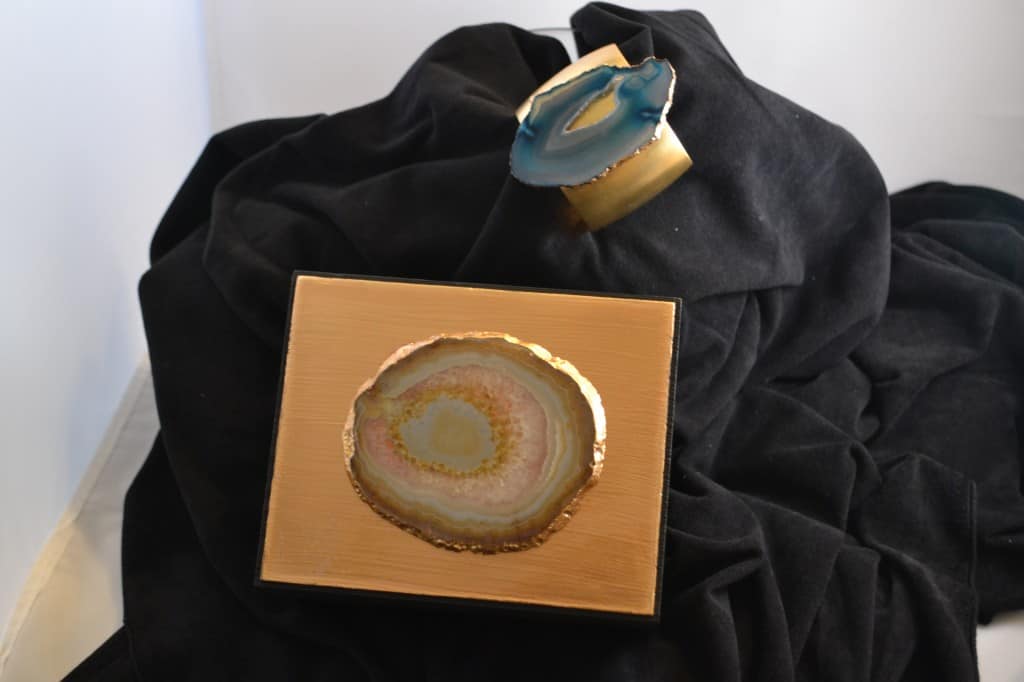
Let’s get straight to the deets. Here’s her inspiration and the how-to’s for these gorgeous projects!
What inspired you to make this project?
I’ve been seeing this big Agate trend in Jewelry and home décor for a little while now, and love it. Thought it could be something “easy” to DIY
What materials did you use? Sliced agate stones, Martha Stewart gold leaf paint (tried gold leaf, didn’t like it), sealer, concaved cuffs, blank wood boxes, E6000 glue, wire, and paper, spray paint, and varnish.
Where did you get your materials? Michaels, Hobby Lobby, Lowes, eBay and Etsy
Cost of materials:
About 10 dollars each (both box and cuff)
How did you make it?
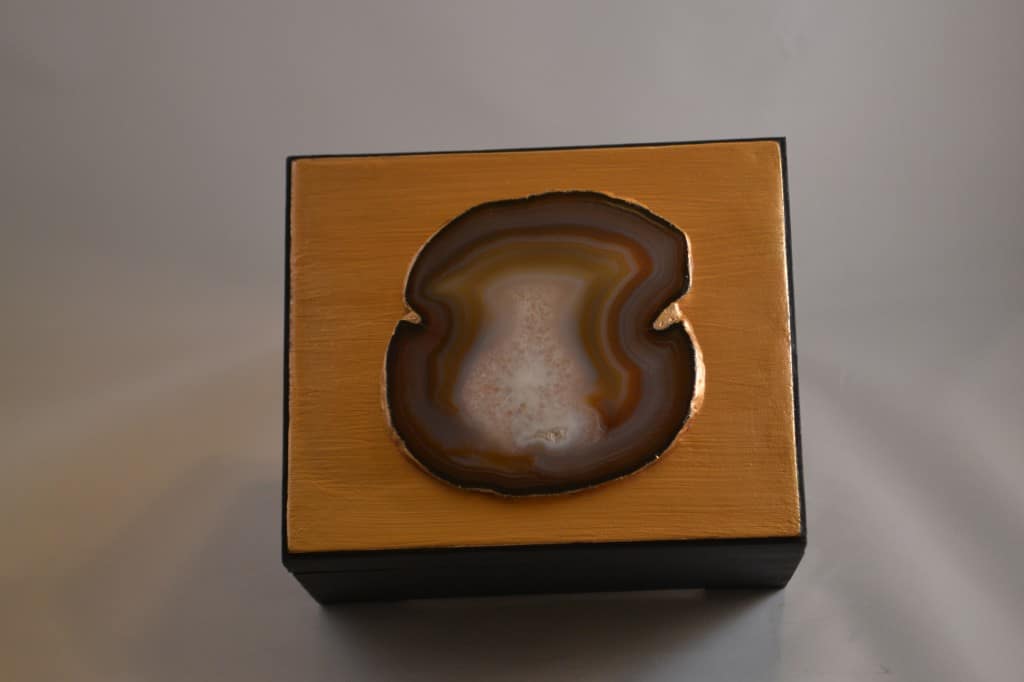
I painted the edges of the agates with gold leaf paint, then sealed them so they won’t (shouldn’t) varnish. For the smaller Agates, I wrapped them in wire to give them more interest on the large cuffs. I shouldn’t have bought concaved cuffs, as the agates didn’t really sit flush…especially with the wire. After my first attempt, I cut the wires under the stone to help keep them more flat. The ones without the wire are the easiest. Just glued them right on top the cuff using the E6000. For the boxes, I got better with these as I went…sorry for the first few unlucky receivers. I just painted them at first, then I first tried gold leaf and it sucked, so I painted it on top…then topped with varnish. Second one I just painted it with gold leaf paint. After that I actually sanded all the boxes down, then painted, then topped with varnish. I glued the larger agates on top of the boxes with the same E6000 as the cuffs.
How long did it take per item?
Longer than I thought. Lots of paint… then wait, glue…then wait, repeat…the wait. I’d say a couple of days if you were trying to make one….working on it just a little bit at a time.
What was the hardest part about making this?
Painting…which for most would probably be the easiest. But for me, I am WAY messy. I have permanent gold paint on my body…. I had it allllll over my bathroom…which for whatever reason is the area I chose to do this craft. My husband was not happy with that part 🙂
What was the funnest part about making this?
That I did it!! Not as well as I’d hope but good enough….if you look from afar 😉
Do you like it?
I love it. I actually made a larger box for myself because I had a larger old wooden box I bought at a garage sale and a larger agate that fit it perfectly.
If you made it again, what would you change?
I would not have gotten concaved cuffs.. Just regular. Not sure it would have helped but I think it would have made a difference.
Would you make it again and why?
Maybe, if I had a reason. I do have some smaller agates that I may try to make a necklace out of, and find some other things for them to make.
I’m going to have to Etsy stalk Sabrina more often. 🙂
 What’s your happy place? Crafting? Cooking? Cocktails? Party planning? Yes please! I love it all, and I’ve tried a lot. Check out my how-to’s! What should we do next?


0 Comments