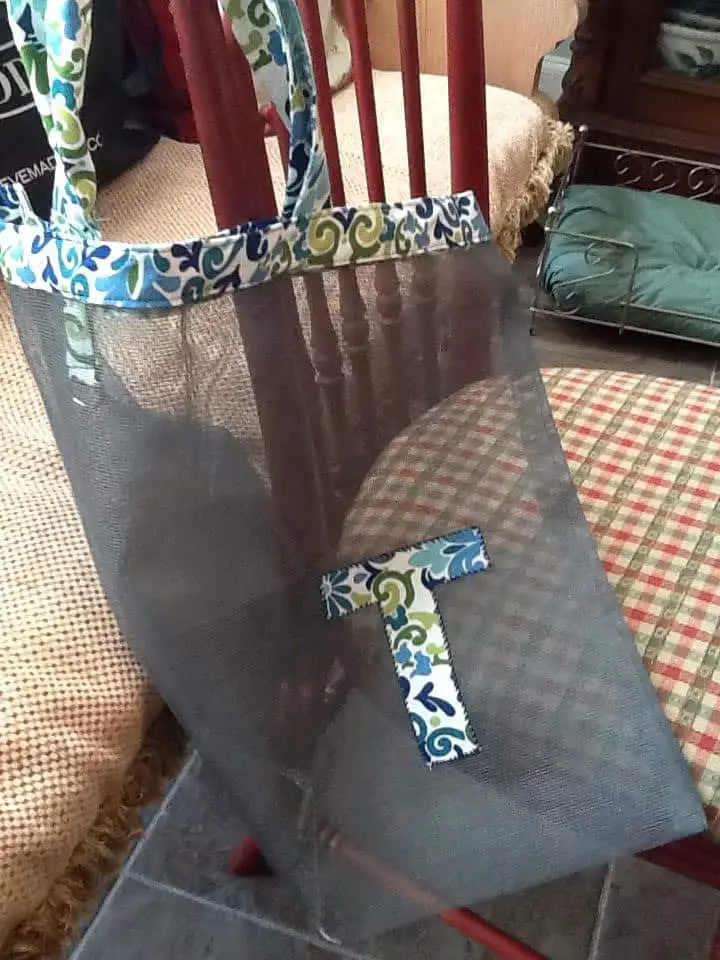
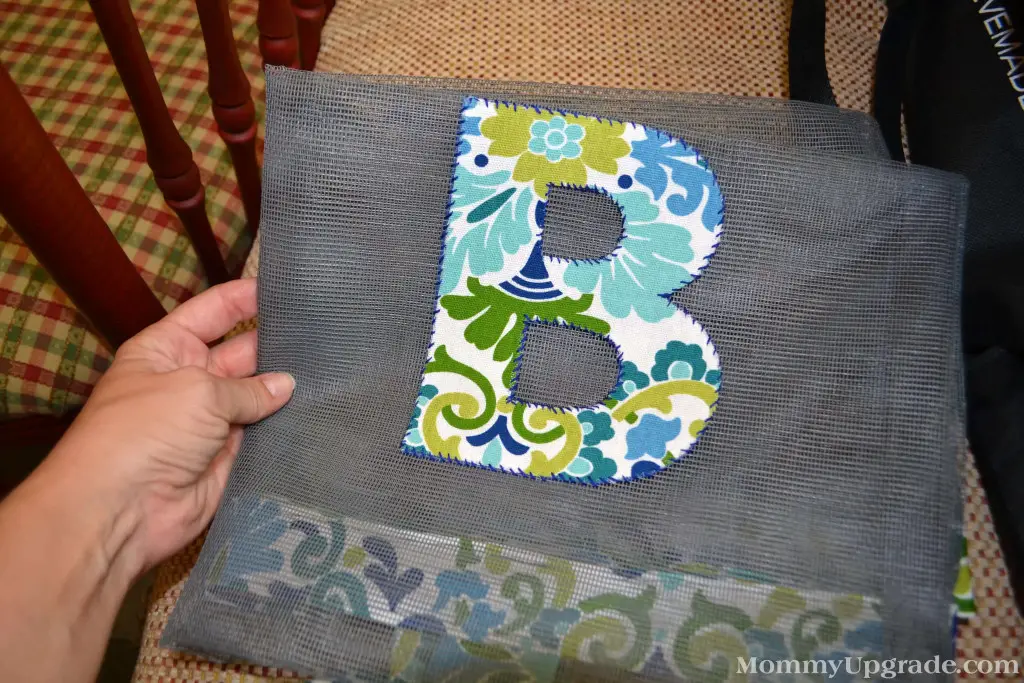
Today I’m featuring my good friend and fellow crafter, Debbie Ernst. She made these AWESOME mesh tote bags for everyone in her Craft Exchange group (with their initial — of course) out of WINDOW SCREEN material. I kid you not! I used mine right away as a pool tote, per her suggestion. Now, even if I forget to take the towels out, they’ll still dry. Oh yeah…
Here’s mine:

Read on to see what she has to say about these awesome bags.
What did you make?
I made Mesh Tote Bags that can be used as swim/beach bags, grocery totes
Why did you choose it?
I chose this project after my original idea was a big fat fail. I had wanted to do something a little different than sewing. My first project was supposed to be these wrap bracelets made out of seed beads and was an epic fail as it looked like something my 5 year old made at summer camp. So this was my second choice of project. I had wanted to do something other than a fabric craft but this idea took me back to my safe zone of a sewing craft, only using a different material.
What materials did you use?
I used fiberglass mesh window screen, (purchased by the roll from Home Depot) and cotton duck canvas fabric (Hobby Lobby coupon). For the monograms I used the cotton duck fabric, wonder under and broadcloth. I used embroidery floss (bought for 9 cents per skein on clearance at Hobby Lobby!)
Where did you get your materials?
Home Depot and Hobby Lobby
Cost of materials:
Note that this is what I spent in total – I can make about a dozen more bags out of the leftover mesh!!!
- $16 = 25 foot roll of fiberglass mesh (I maybe used about $6-$7 worth)
- $14 = Canvas and D rings
- $4 = wonder under, broadcloth backing, embroidery floss
How did you make it?
Sewing and pinning and ironing. I handstiched the monograms using wonder under to adhere to adhere the fabric and the fabric backer to the mesh.
How long did it take per item?
3 hours for the first one, maybe 1.5 hours for each after that
If you made it again, what would you change?
I actually changed the project on my prototype. The original used ribbon plus fabric and I opted for all fabric from the start. I wanted to use a heavier fabric as the mesh is “stiffer” than regular fabric.
- As I made my first one, I quickly realized the cute ruffle on the pattern would not work on the canvas duck (as it was way too stiff) plus it was difficult and time consuming to ”turn” the material.
- Also the little ribbon handle holders would not work either as the canvas and the ribbon did not go well together.
- I would take the time to add a ‘secret’ pocket too, maybe zippered, maybe out of oil cloth to make it waterproof.
- I actually made the bag bigger after the first one so it can hold multiple towels, etc,.. (Sorry Dorie, as I made yours first and you got the smaller one.)
- I would experiment with the version using webbing in place of fabric / ribbon (Too bad you can’t buy that local – and I waited too long)
Would you make it again and why?
I would consider making it for gifts, for shopping bags, etc,.. Why? Because what else do you do with a roll of window screen mesh? Maybe that is my challenge for next time!


 What’s your happy place? Crafting? Cooking? Cocktails? Party planning? Yes please! I love it all, and I’ve tried a lot. Check out my how-to’s! What should we do next?


0 Comments